Month: August 2017

How-To: Import WordPress blog into Blogger [With Pictures]

How-To: Import WordPress blog into Blogger [With Pictures]

If you are looking to migrate your blog from wordpress.com to blogger.com, then read the post below for a step by step guide.

Note: I have tested these steps only on blogs hosted on wordpress.com. But the steps will remain the same for WordPress blogs hosted on any hosting provider.

WordPress and Blogger use different data format when exporting blog posts and other blog data. This makes it difficult to seamlessly transfer posts and other content from one service to another. I faced the same problem when trying to move this blog from a WordPress domain to Blogger. While both the services use the same file format (XML), the underlying structure of data is different which causes Blogger to not recognize a file exported from WordPress.

If you try to import a WordPress export file directly into Blogger, the Import tool in Blogger will get stuck with the “Writing Blog Posts” message. If you are facing the same issue, read on to find the solution.
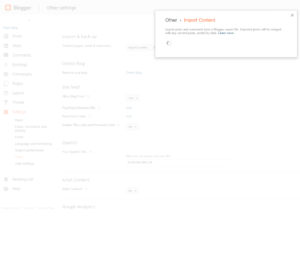
Blogger Import Get Stuck Trying to Import WordPress Content
Blogger Import Content Tool gets Stuck Trying to Import WordPress Content

I did some digging and found that the Blogger team had released a tool in 2010 to convert WordPress export files into Blogger compatible format. However, that tool is now long defunct. My search led me to another such tool online:

WordPress To Blogger Converter Tool

Using this tool, you can convert your WordPress export files into Blogger compatible format. After doing this, your files should import without any problems into Blogger. Read below for the step by step process with screenshots:

Step 1: Export Content From WordPress

  1. Go to your blog’s dashboard with an Admin account. You can access your blog’s dashboard by opening the URL <blog-name>.wordpress.com/wp-admin
  2. Locate the Tools section in the left navigation rail and click Tools > Export.
  3. In the Export page, you will see two options: Export and Guided Transfer. Click the Start Export button under the first section.
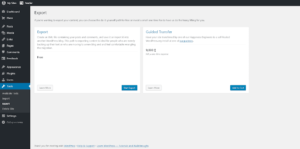
WordPress Dashboard Export Page
WordPress Export Page
  1. WordPress will ask you to select what you want to Export. You can select All Content to export everything including comments, media etc.
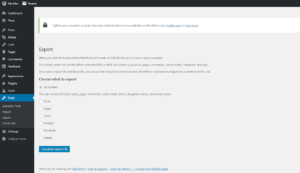
WordPress Export Content Selection
WordPress – Select Content to Export
  1. Click the Download Export File button.
  2. You will get a prompt to download an XML file. Save the file on your local storage.

Step 2: Convert Exported File to Blogger Format

  1. Point your browser to the WordPress to Blogger converter website.

WordPress to Blogger Converter Tool Interface

  1. Click the Choose File button and select the XML file you had downloaded from WordPress.
  2. Click the Convert button.
  3. And that’s all you need to do. Depending on the size of your XML file, the tool will take a few seconds to convert the whole thing to blogger format. Once the conversion is done, your browser will prompt you to download the converted file. Save this file with a different name on your local storage.

Importing the Content to Blogger

  1. Once you have the converted file, you will need it to upload to your Blogger dashboard.
  2. Start by logging into www.blogger.com with your admin credentials.
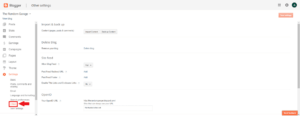
  3. Click Settings > Other in the left sidebar.

Blogger Import Tool

  1. Click the Import Content button under the Import & back up section on this page and select the file that you had converted earlier.
  2. Blogger will upload the selected file to the server and will import all elements present in the file to the server.

WordPress to Blogger Import Complete

  1. And that’s all. You have successfully migrated your WordPress.com blog to a Blogger blog.

I hope this guide helps someone who is facing the same problem. I recently moved my blog from WordPress.com to Blogger.com for multiple reasons which will make up for a good post detailing the differences between the two blogging platforms.

Did you find this post useful? Let me know your thoughts in the comments section.

How-To: Reset Your Dish TV HD Set Top Box for Better Performance [With Pictures]

How-To: Reset Your Dish TV HD Set Top Box for Better Performance [With Pictures]

Do you use a Dish TV connection? If yes, chances are that over time your Dish TV set-top box has slowed down so much that it takes multiple seconds for it to respond to even the simplest of remote commands like Vol+/-.
Changing a channel takes minutes, and loading the program guide takes forever. It becomes very frustrating when you are browsing channels as you can never be sure if your remote input was missed by the box or it is just happily sitting there processing an old command.

If you have faced this situation and wondered if there’s way to fix this, let me tell you that, yes there is a way to fix this. All it requires is to clear up the box’s cache and do a reboot to freshen it up. After you have followed these steps, your box should become significantly fast.
I have only tested this process on my “Dish HD+ Recorder” box, but it should work on any other dish box as well.

Disclaimer: I have only provided this information with the intention of helping fellow users. I am not responsible for any damage or information loss to your box or TV that may arise as a result of you following these steps.

Reset Dish TV Set-Top Box
This is my set-top box on which I successfully completed this process.

Prerequisite: Make sure that you have turned on your TV and set-top box both and your set-top box has completed the boot process. You can leave your set-top box on for 10-15 minutes before starting the process.

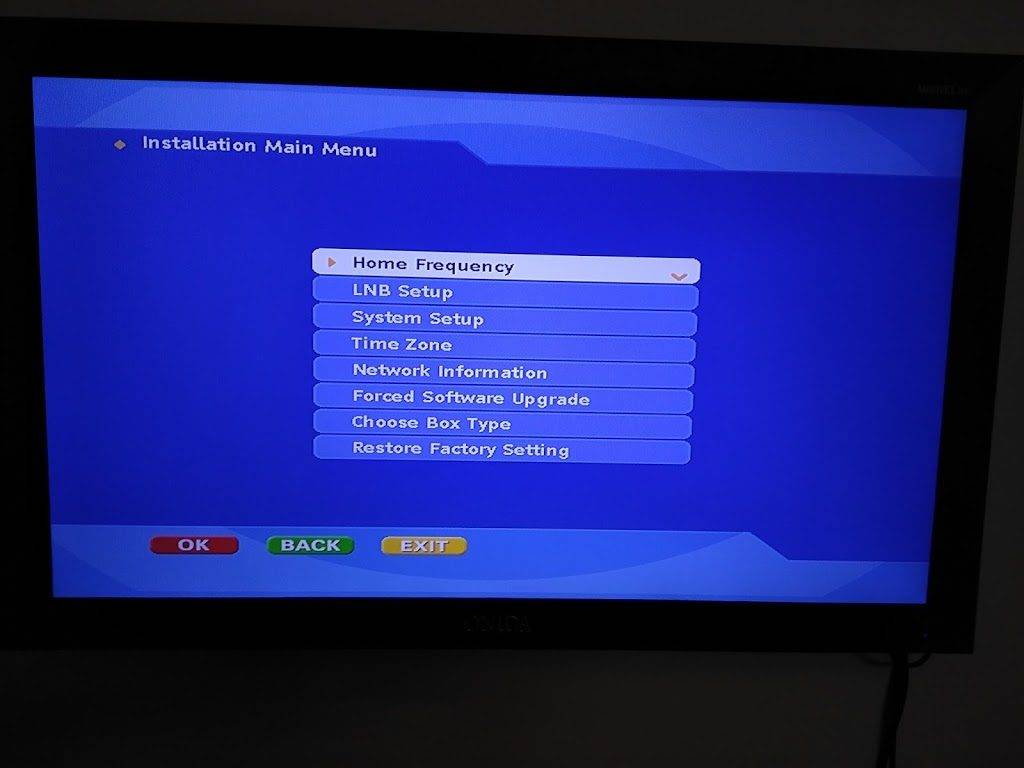
Step 1: On your set-top box remote, press and hold the “Menu” button. Keep it held until you see a menu on your TV screen that is titled “Installation Main Menu” or something similar.

Reset Dish TV Set-Top Box
Select the “System Setup” menu item.


Step 2: In this menu, select the “System Setup” menu item and press “OK”. This will bring you to “System Setup” menu screen.


Reset Dish TV Set-top Box
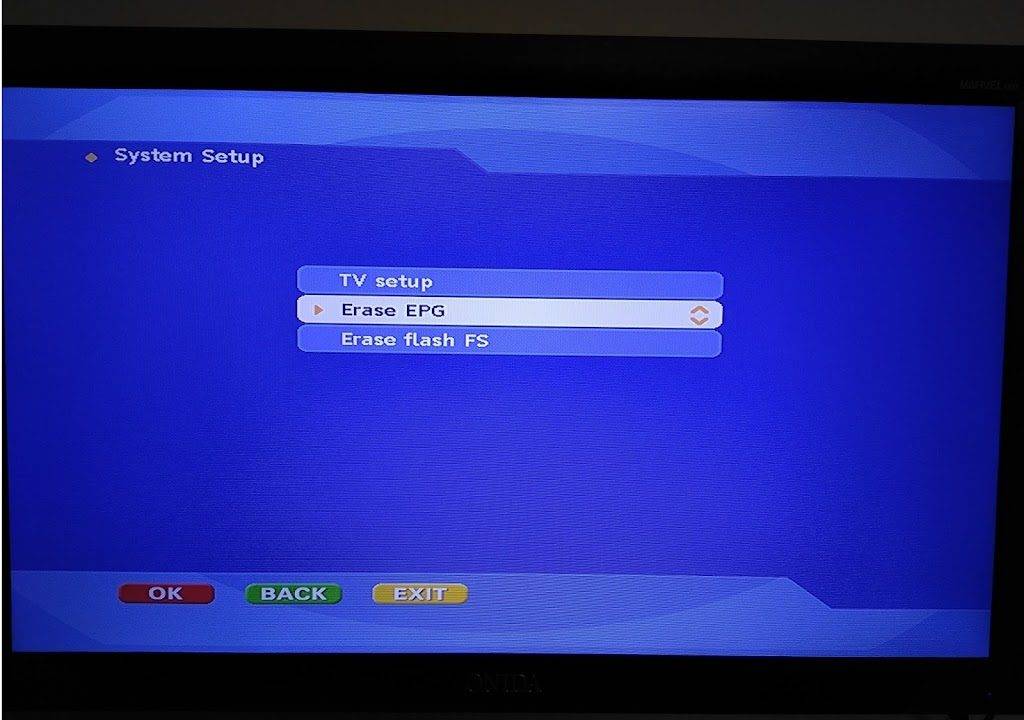
Select the “Erase EPG” menu item.

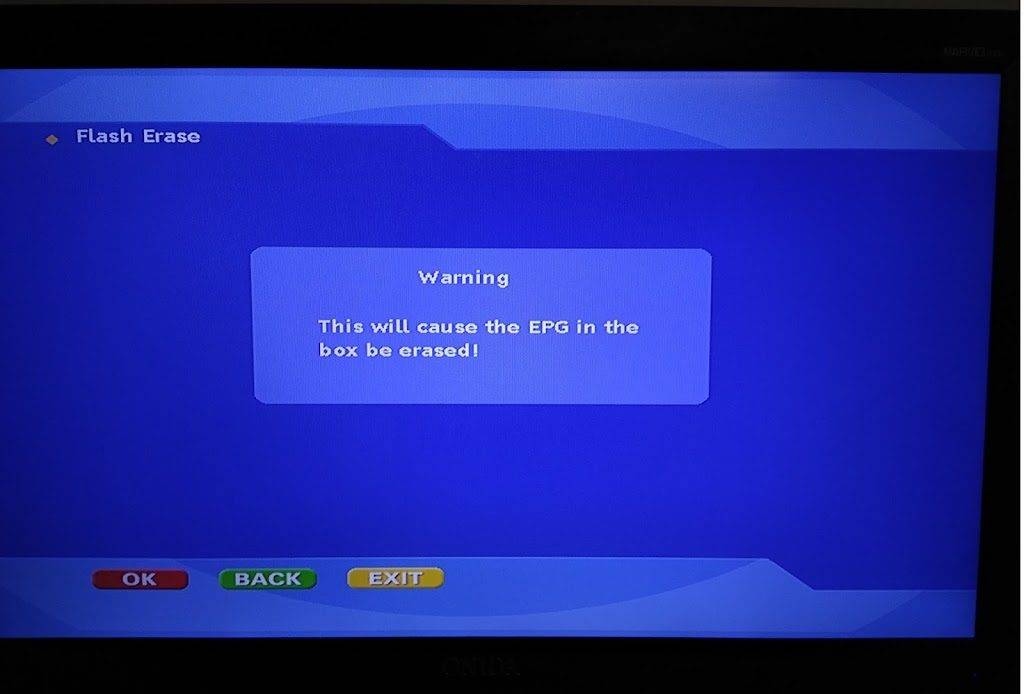
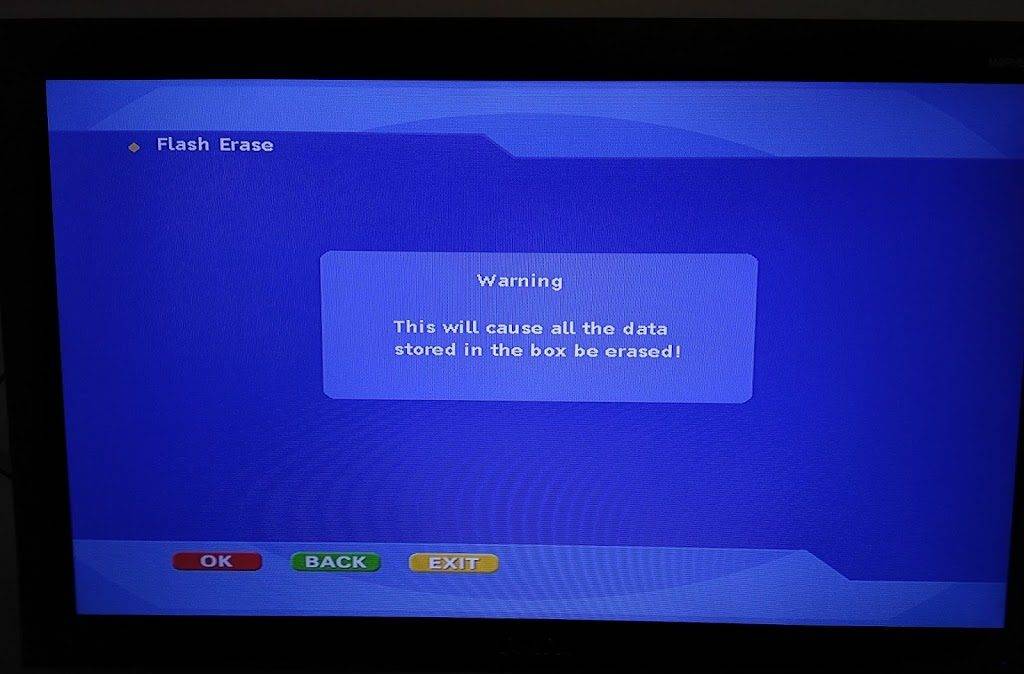
Step 3: In the “System Setup” menu screen, select the “Erase EPG” menu item and press “OK”. The system will display a warning message on the screen like below.

Reset Dish-TV Set-Top Box
Press “OK” on this warning screen.

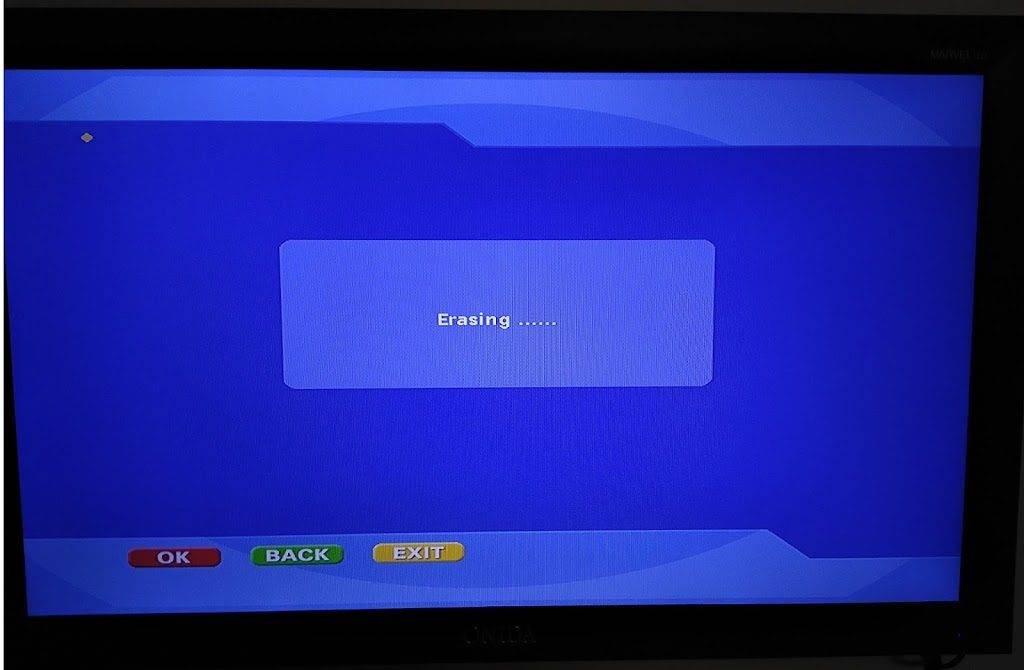
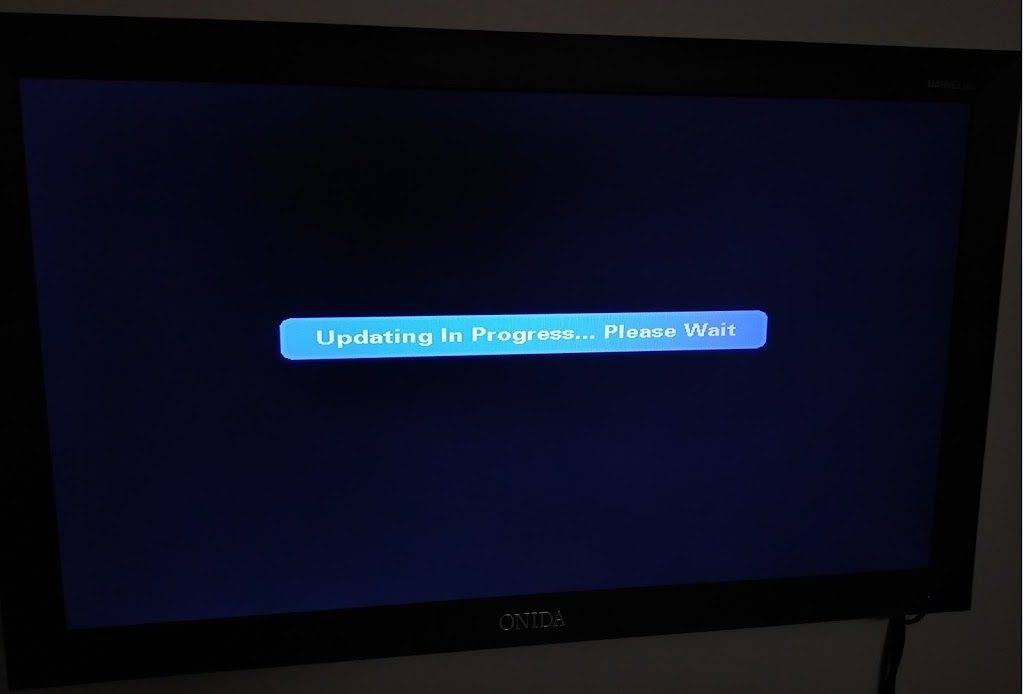
Step 4: Click “OK” or one of the Color buttons on the remote as the message instructs. Once you press “OK”, the system will display a message informing that the erasing is in progress like below.

Reset Dish TV Set-Top Box
Erasing…
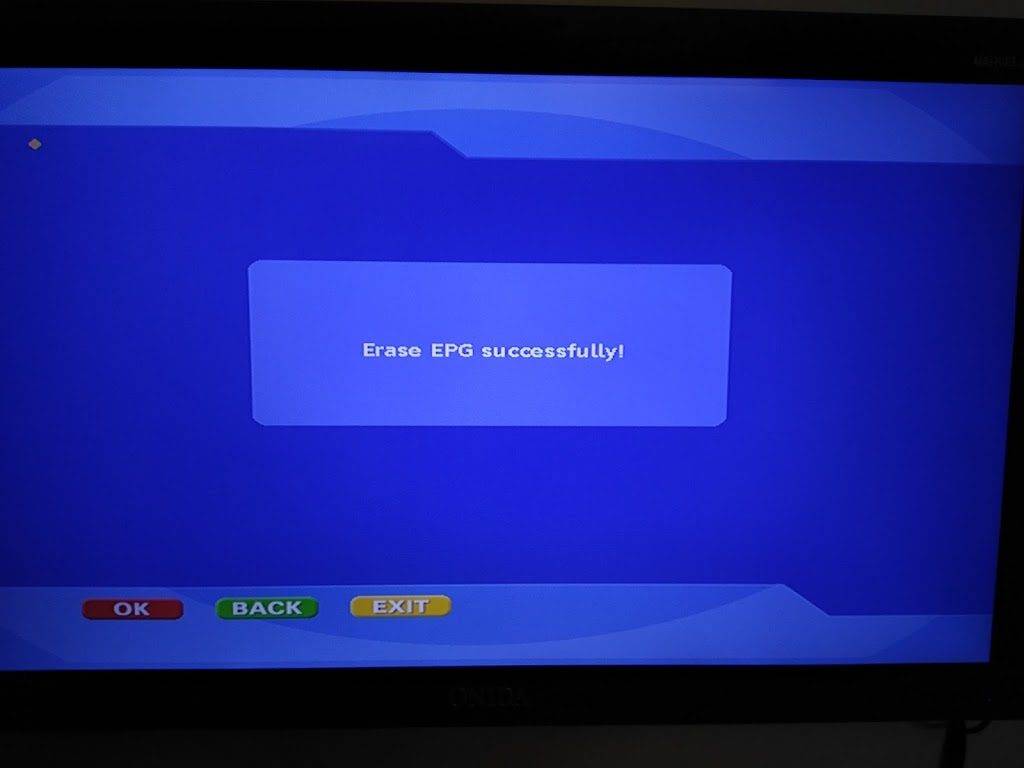
Reset Dish TV Set Top Box
Success message

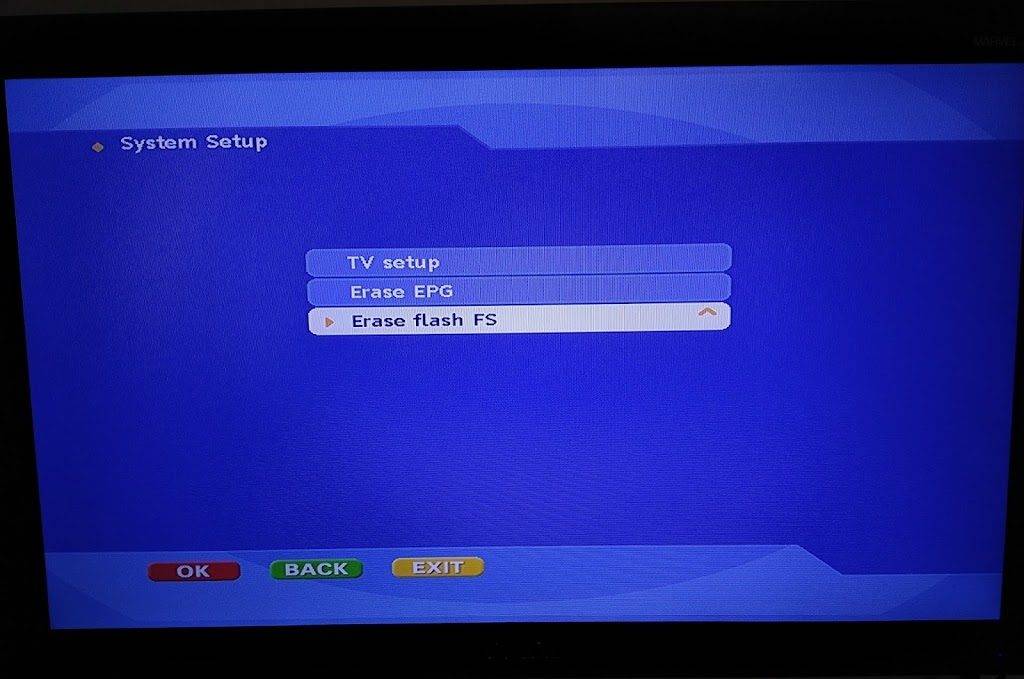
Step 5: Once complete, the system will go back to the “System Setup” menu screen automatically. Here, you should select the menu item “Erase flash FS”.

Reset Dish TV Set Top Box
Select the “Erase flash FS” menu item.

Step 6: Once again, the system will ask you for confirmation like below. Confirm on this screen to proceed.

Reset Dish TV Set Top Box
Press “OK” on this warning screen.

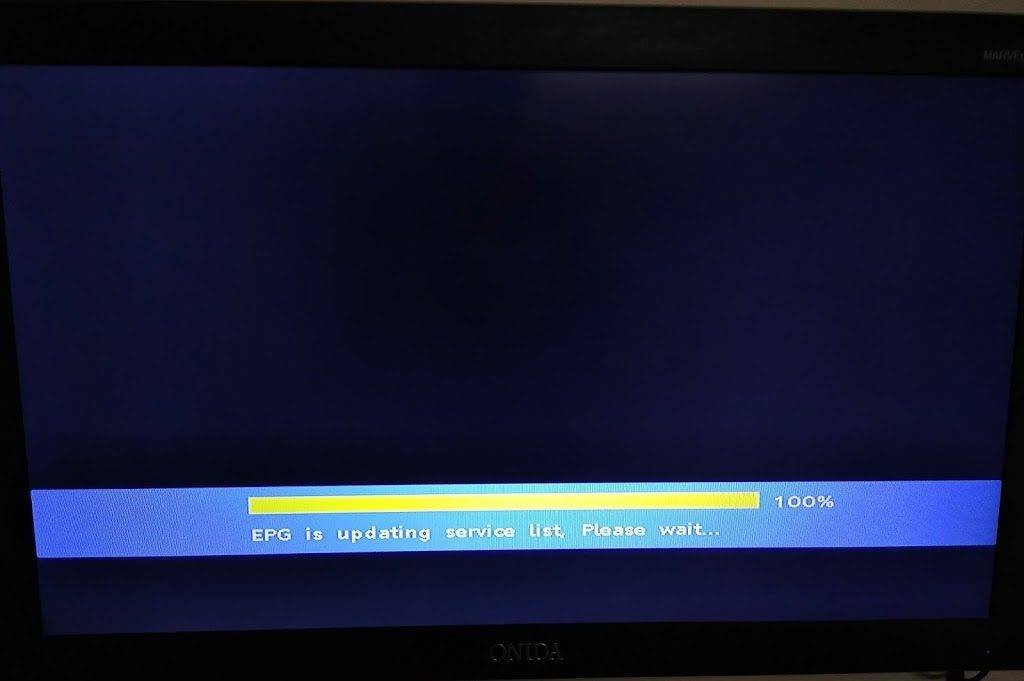
Step 7: When Step 6 completes, the box will automatically reboot. This reboot may take several minutes to complete as the system will download the program guide and other data from the network. You will see a progress screen like this:

Step 8: Once the update completes, your set top box is ready to operate and is faster than ever.

If this post helped you, don’t forget to share it with your friends on your favorite social media platform. Have a good day. 🙂
Travelogue: Bangalore to Munnar – A trip to God’s own country

Travelogue: Bangalore to Munnar – A trip to God’s own country

We visited Munnar during the 15th August long weekend in 2017. We were a group of 4; me and my wife along with a couple we’re friends with.
We hadn’t really done any detailed planning for this trip except booking our transportation and stay in Munnar. We just wanted to get away from the city hustle and bustle and the monotonic daily office schedule. So, we booked our train tickets and hotel stay 2 months in advance and started waiting for the Iday long weekend.

Finally, the day arrived. Our itinerary included taking a train from Bangalore to Aluva and from there traveling via road to Munnar. We had booked the Bangalore-Kanyakumari Express (16526) for travel on Friday (11-Aug-2017) night. We were boarding the train from KR Puram station in Bangalore. We arrived at the station at 7:30 PM, an hour before the scheduled arrival of the train. Soon after, it started pouring rain. The station was already jam packed, and when it started raining, people started crowding under the relatively small covered area on the platforms and the overhead bridge. We somehow managed to cross to our intended platform using the crowded overhead bridge. By the time the train arrived, we were completely drenched. We changed into dry clothes and settled onto our berths. We then had some tasty biryani, which we had ordered and before we left home, and went straight to sleep.

Saturday (12-Aug-2017)

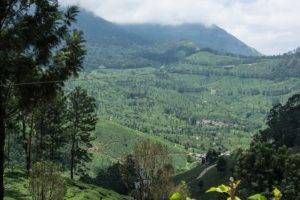
The train takes a slightly longer route than the road route. The scheduled arrival of our train in Aluva was 6.50 AM, but it was running about 30 mins late. I woke up at 6.30 and was greeted by this beautiful first view of god’s own country.

God's Own Country - Beautiful Kerala

This was the first time I was visiting Kerala, and I was already mesmerized by the amount of green there. It was captivating, beautiful and lush and it was everywhere.

We arrived at Aluva at around 7.30 in the morning. We found a nice restaurant near the train station and had our breakfast there. The KSRTC bus stand is located about 300mts from the train station. By the time we reached the bus stand and enquired about the next bus to Munnar, it was 8.15. We were told the next bus is scheduled in 15 minutes. The bus arrived right on time and we boarded. It was a normal non-AC seater bus. The ticket to Munnar cost us Rs. 344 for 4 people = 86 per head.

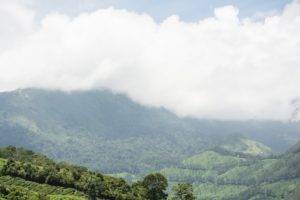
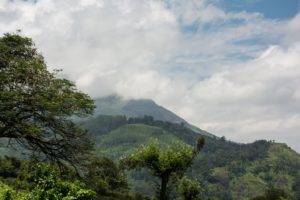
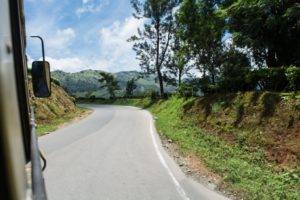
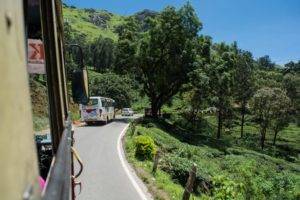
And so the second leg of our journey started. The road was beautiful, with little traffic and beautiful homes on both sides. It took us approximately 4 hours to reach Munnar including two 10-minute breaks. We reached Munnar at 12.15PM. Here are some pics along the way.

Beautiful landscape on the way to Munnar from Aluva by bus.


Beautiful landscape on the way to Munnar from Aluva by bus.


Beautiful landscape on the way to Munnar from Aluva by bus.


Beautiful landscape on the way to Munnar from Aluva by bus.


Beautiful landscape on the way to Munnar from Aluva by bus.

We had booked our stay in Elysium Gardens Hill Resort (GMaps). We had selected this hotel mainly for its location. It is perched atop a small hill, around 1.2KM from the bus stand. We reached the hotel at around 12.45PM on Saturday.

Hotel Experience

After reaching the hotel, the check-in process was quick. They took copies of our IDs and then asked us to wait in the lobby till they get the rooms ready. We settled down in the lobby, tired from the almost 16 hour-long journey. Soon after, we were served the welcome drink – extra sweet strawberry milkshake.

Thankfully, we didn’t have to wait too long in the lobby and our rooms were ready in about 15-20 minutes. We checked into our rooms and then came the surprise: no hot water before 6:30 in the evening. Mind you, they have this hot water policy even when their check-in time is 12 PM. I discussed this with the staff, and they said they can give us hot water in buckets. Even the buckets they have in the bathroom and the ones they bring hot water in are very small – roughly half the size of a normal sized bucket we use at home.

I was already regretting my choice of stay. We got ready and headed down to the restaurant for some lunch. We were very hungry and tired also. As we entered the restaurant, we found another group of guests frowning over the restaurant staff. Apparently, they had been waiting for their order for over 40 minutes and still hadn’t been served. They started shouting at the staff and walked out. The restaurant manager mediated and got them to come back in the restaurant.

After witnessing all this drama, we were assured that it would take forever for our order to get served, but the manager assured us that they will get us our food in under 30 minutes. We did not want to wait so long, but none of us had the energy to walk at least 1.5KM to the nearest restaurant. So, we stayed put, and finally after 25 minutes, got our food. We finished lunch at 3.30 PM, a full hour after we entered the restaurant, not bad. We then decided to get back to our rooms and get some rest and then head out to Munnar town in the evening by around 5.30.

We had paid above Rs. 2400 per room per night for a balcony room. I have had better hotel experiences for lesser prices in the past. But, for 2400/night, you would expect better facilities than what is offered here. The hotel from our experience turned out to be pretty average.

Pros:

  • Clean rooms and bathroom.
  • Very good location.
  • Courteous staff.
  • Tasty food.


Cons:

  • Limited hot water supply – 6.30 to 10.30 in the morning and same time in the evening.
  • Even when the hot water supply is on, there is a lot of variation in the water temperature continuously.
  • Slower restaurant
  • No laundry facility – This could be a seasonal thing.
  • Patchy room service – although, I and my wife did not face any issues with room service, the couple we were traveling with did.
  • Extremely limited selection of TV channels in the room. They do not even have the basic set of channels subscribed. All Hindi/English movie channels I tried were not available.
  • No hair drier / bathroom slipper in the room.

We had some much-needed sleep after the lunch and woke up at 5.30 PM. We got ready for a walk to the town and left the hotel at 5.45 PM. Munnar town is a small area where major roads meet. There are multiple spice shops, “home-made” chocolate shops, restaurants and other regular stuff. We were looking for a travel agent to plan our next two days in Munnar.

Taxi Experience

We eventually found the Taxi Union’s office which is very near to the bus stand. We discussed with the person there in detail about the available packages. He explained that there are four possible directions to take while exploring Munnar.
1. Kochi Direction
2. Coimbatore Direction
3. Mandupetty Direction
4. Thekkady Direction

Each direction has several points and stretches anywhere from 35 KM to 65 KM. For our next day’s travel, we chose the Coimbatore direction, which ends at Chinnar Wildlife Sanctuary, about 65 KMs from Munnar. And for the third day, we booked the Mandupetty Direction which ends at Top Station View Point, about 35 KMs from Munnar. Each day’s travel cost us Rs. 1500 for a Toyota Etios car, so in total 3000 for 2 days. We paid 500 as advance and headed out for some shopping.

After a few hours of shopping, we had dinner in a Marwadi restaurant and headed back to our hotel at around 8.30 PM. We had a full day’s travel the next day, so we slept early. And that marked the end of our first day in Munnar.

I will be writing a separate post detailing our next two days, with many more pics and route and other important information. Stay tuned.

If this post helped you, don’t forget to share it with your friends on your favorite social media platform. Have a good day. 🙂